If you're like me, you probably want to save yourself some money and keep your dash looking 'stock' by using the factory unit. You probably also know that using those speaker to line-level connectors is not the most ideal way to connect an amplifier. This document will show you how to use the extra connectors as a line-out and switched power to your external amplifier. In addition you don't need to take your radio apart and you probably won't void the warranty unless you break something. In addition, I should mention that this is just an attempt to document how to connect your amp to your radio. I make no claims that this is 100% correct or it will not cause your car to spontaneously explode or other bad things. Use at own risk!
OK, here we go:
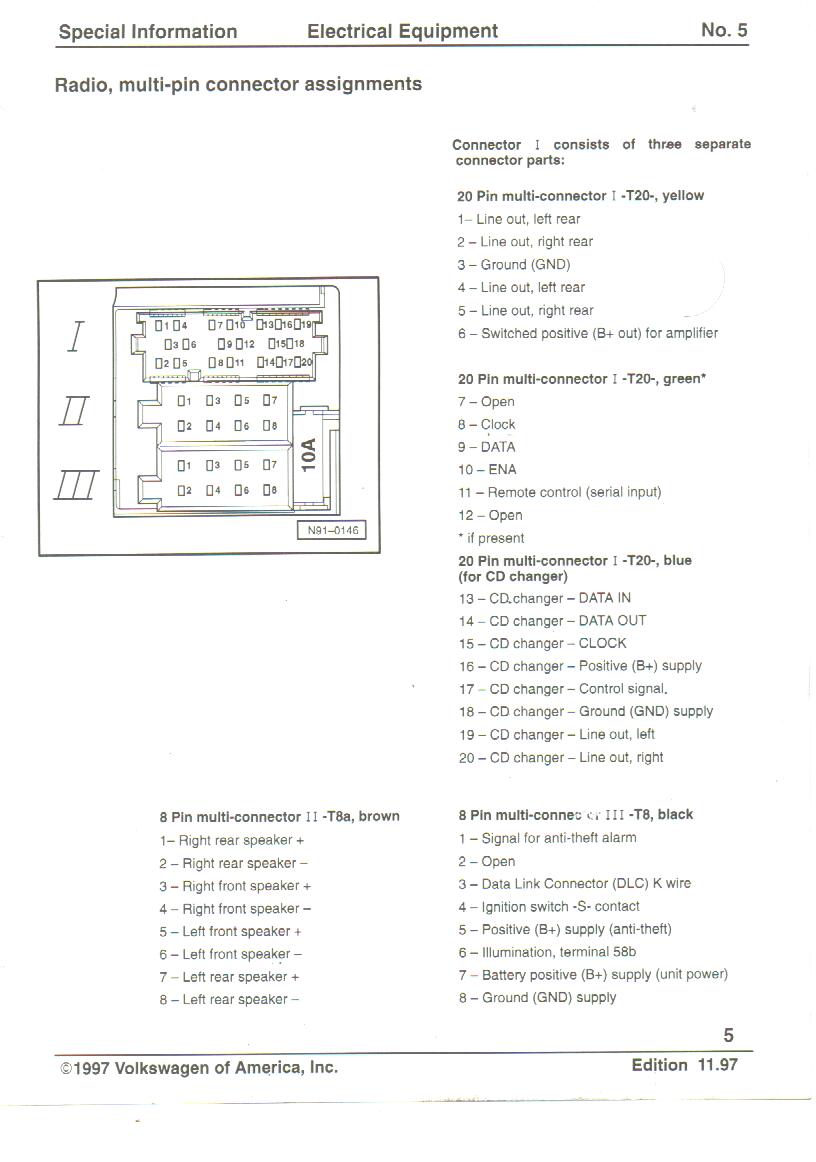
The head unit in question should look like this. If not, the connectors on the back should at least look like this.
Go down to your VW dealer and order the following parts:
Qty 1, 4A0 972 643 (yellow housing for line out connector)
Qty 1, 4A0 972 643A (green housing for data connector)
Qty 3, 000 979 125A (wires with the pins that fit in the connector)
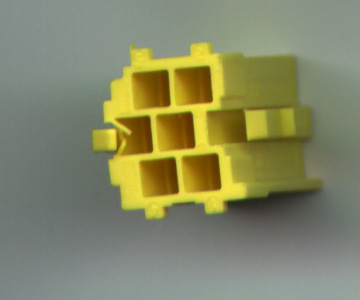
The back of the yellow connector look likes this. Put the green connector aside for now, you'll be using it later.
You should cut the three wires in half to get 6 pins and short pieces of wire. If you look at the pins you will see that one side of the pin has a square cutout. If you look at the picture of the back of the connector, the square cutout should face to the right. Each pin should click-lock into place. Note the pinout diagram and connect your line out and switched power leads and build your harness. Note that the pins are incorrectly labeled as 2 sets of rear line outs, this isn't correct, one set of them is for the front. Unfortunately I forgot which ones are the front, but I believe the front ones are 1 and 2. When you are done, you should come up with something like this.
If you run the wire along the driver side sill and into the little nook in the trunk between the fender well and the tail light, you'll need to build your harness about 20 feet long. I built mine out of some 24 foot Radio Shack A/V dubbing cables and 18 gauge hook-up wire for the remote lead. I cut off the crappy RCA jacks on the ends and used some gold plated ones instead. You'll definately find it easier to pull the 'headless' cable through the body of the car and connect the RCA plugs when you are done. The sill cover is a pain in the ass to take out, and I didn't bother. I just loosened it and moved it out of the way. There's plenty of room in there for wires, so don't worry about them fitting. There are probably other descriptions of how to run wires elsewhere in the archives. Just don't mess with the seatbelt tensioner thing that lives in the sill.
To pull the radio out, I made some keys out of small pieces of sheet metal. Pop off the covers on either side of the radio (carefully!) , insert the keys, and gently wiggle the unit back and forth while pulling it out. It comes out relatively easily, just take it easy and use care. Make sure you have your radio code and instructions for entering the code handy. Slide the unit out, reach behind it and unplug the three connectors that are on the back. You can leave the black and brown connectors on if you wish, but I found that if you let the radio dangle from the hole it scuffs up the climate control bezel a little bit. Push on the tabs on the side of the radio to remove your keys.
Fish your harness through the dash and up to the back of the radio hole. Here's where the green connector comes into play. The green, yellow, and blue plugs all connect into each other to form one large connector. They slide together really easily, just play with it a bit and you'll get them together. The green connecor is in the middle of the blue and yellow ones. Plug the connectors back in, slide the radio in and see if it fits. You may need to slide it back out and reposition your new harness a few times before your radio fits correctly. When you slide it back in, listen for the clips to click into place. You should be done at this point.
Some miscellaneous notes:
You may want to add an inline 1A fuse to the switched power lead. I'd hate to see you toast the radio by shorting it out.
I zip tied a few small pieces of foam to the part of the harness that runs behind the dashboard. This may help eliminate any potential sources of annoying buzzing and rattles.
Thanks to Don and others from the GTI list for help with this project!